

NFTs are a buzz today. NFts have quickly emerged as a form of digital art. In this blog, we will create a dApp to mint NFTs using React js and NFTPort.

What are NFTs ?
NFTs(Non-fungible Tokens) are cryptographic assets on a blockchain with unique identification codes and metadata that distinguish them from each other.
NFTs can represent any real-world objects like art, music, in-game assets, or videos.
NFTs are used to certify authenticity and ownership.
What is NFTPort?
NFTPort is the Stripe for NFTs . NFTPort provides a single API key to developers for accessing NFTs across multiple chains like polygon,ethereum mainnet , goerli(ethereum testnet). No smart contract is needed to retrieve, update, mint, or burn NFTs. NFTPort has a variety of endpoints, allowing developers to build NFT applications in minutes.
What is NFT Minting ?
Minting an NFT or non-fungible token is publishing unique digital assets on the blockchain so that they can be bought, sold, and traded.
Prerequisites
Node js installed
NFTPort API Key - You can generate API KEY from here
Metamask account
Initializing React App
- Initialize react app using your favorite package manager. In this blog, I am going to go ahead with yarn.
yarn create react-app nft-minter
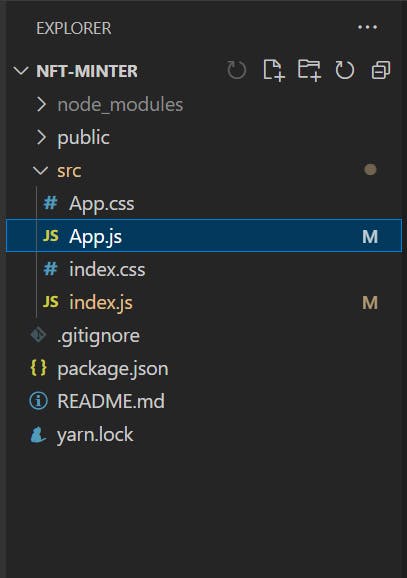
Remove all the unnecessary files and such as reportWebVitals.js, setupTests.js , logo.svg , App.test.js .
The final file structure should look similar to the following -
NFTPort Endpoint
NFTPort has a specific endpoint to mint NFTs. We just need to send a POST request to mint NFTs.
The endpoint to mint NFT is - https://api.nftport.xyz/v0/mints/easy/urls
NFTPort authorizes the requests using API KEY, so it is mandatory to pass API KEY in the header of the POST REQUEST
The endpoint takes the following parameters as input -
chain - Blockchain to mint the NFT on .Currently it supports - ethereum mainnet, polygon , goerli testnet .
name - Name of the NFT.
description - Text description of the NFT which will be seen on NFT marketplaces.
file_url - URL that points to the image/video or any other file format as long as it returns a Content-Length and Content-Type header or contains the file extension. HTML files are not supported.
mint_to_address - Account address where the NFT will be sent. For example, your Metamask wallet address if you wish to send it to yourself.
The full API reference to the endpoint can be found here - API Reference
The next task is to build a form in our frontend which takes the above parameters as input from users.
Form
Paste the following code in App.js -
import { useState , useRef} from 'react';
import './App.css';

function App() {
  const inputRef = useRef(null);
  const [title, setTitle] = useState("");
  const [description, setDescription] = useState("");
  const [address, setAddress] = useState("");
  return (
    <form className="upload-form">
        <label name="acc_add" className="normal-label">
          Enter your Wallet Address
        </label>

        <input
          name="acc_add"
          className="acc_add"
          onChange={(e) => setAddress(e.target.value)}
        />
        <label name="file" className="drop-container">
          <input
            type="file"
            className="upload"
            ref={inputRef}
            name="uploadImage"
          />
        </label>
        <label name="title" className="normal-label">
          NFT Name
        </label>
        <input
          name="title"
          className="title"
          onChange={(e) => setTitle(e.target.value)}
        />
        <label name="desc" className="normal-label">
          NFT Description
        </label>
        <textarea
          name="desc"
          className="desc"
          onChange={(e) => setDescription(e.target.value)}
        />

        <button
          type="button"
          className="button_slide slide_right"
        >
          MINT
        </button>
      </form>
  );
}

export default App;
Paste the following code in App.css
.upload-form {
  display: flex;
  flex-direction: column;
  justify-content: space-around;
  margin: 0 auto;
  max-width: 450px;
  padding: 15px 50px;
  padding-top:10px;
  text-align: center;
  cursor: pointer;
  border-radius: 10%
}
.header-area {
  display: flex;
  flex-direction: column;
  justify-content: space-around;
  margin: 0 auto;
  max-width: 450px;
  padding: 15px 50px;
  padding-top:10px;
  text-align: center;
  cursor: pointer;
  border-radius: 10%
}
.saAdress {
  border: 1px solid #181D31;
  box-sizing: border-box;
  padding: 10px;
  width: 100%;
  overflow: hidden;
  text-overflow: ellipsis;


}
input {
  border: 1px solid #181D31;
  box-sizing: border-box;
  padding: 10px;
  width: 100%;

}

textarea{
  border: 1px solid #181D31;
  box-sizing: border-box;
  padding: 10px;
  width: 100%;
}

.normal-label {
  font-weight: bold;
  color: #181D31;
  text-align: left;
  font-family: sans-serif;
  font-size: 14px;
  font-weight: 600;
  margin:10px;
}

button[type = "button"]{
  background-color: #181D31;
  color: #fff;
  font-size: 14px;
  font-weight: 600;
  padding: 10px;
  border: none;
  border-radius: 5px;
  cursor: pointer;
  margin-top: 10px;
}

input[type=file] {
  border: none;
}

input[type=file]::file-selector-button {
  margin-right: 20px;
  margin-top: 10px;
  background: #181D31;
  padding: 5px 10px;
  border-radius: 10px;
  color: #fff;
  cursor: pointer;
  transition: background .2s ease-in-out;
}

.button_slide {
  color: #FFF;
  border-radius: 0px;
  padding: 18px 36px;
  display: inline-block;
  font-size: 14px;
  letter-spacing: 1px;
  cursor: pointer;
  box-shadow: inset 0 0 0 0 #263159;
  -webkit-transition: ease-out 0.4s;
  -moz-transition: ease-out 0.4s;
  transition: ease-out 0.4s;
}


.slide_right:hover {
  box-shadow: inset 400px 0 0 0 #263159;
}

.drop-container {
  gap: 10px;
  flex-direction: column;
  justify-content: center;
  align-items: center;
  margin: 1rem 0;
  height: 60px;
  padding: 20px;
  border-radius: 10px;
  border: 2px dashed #555;
  color: #444;
  cursor: pointer;
  transition: background .2s ease-in-out, border .2s ease-in-out;
}

.drop-container:hover {
  background: #eee;
  border-color: #111;
}

.drop-container:hover .drop-title {
  color: #222;
}

.drop-title {
  color: #444;
  font-size: 15px;
  font-weight: bold;
  text-align: center;
  transition: color .2s ease-in-out;
}
In this section, we have created a form and stored the value of the wallet address, NFT name, and NFT description in a state variable. UseRef hook is used to store the uploaded file by the user so that we preserve the state of the file during any re-renders.
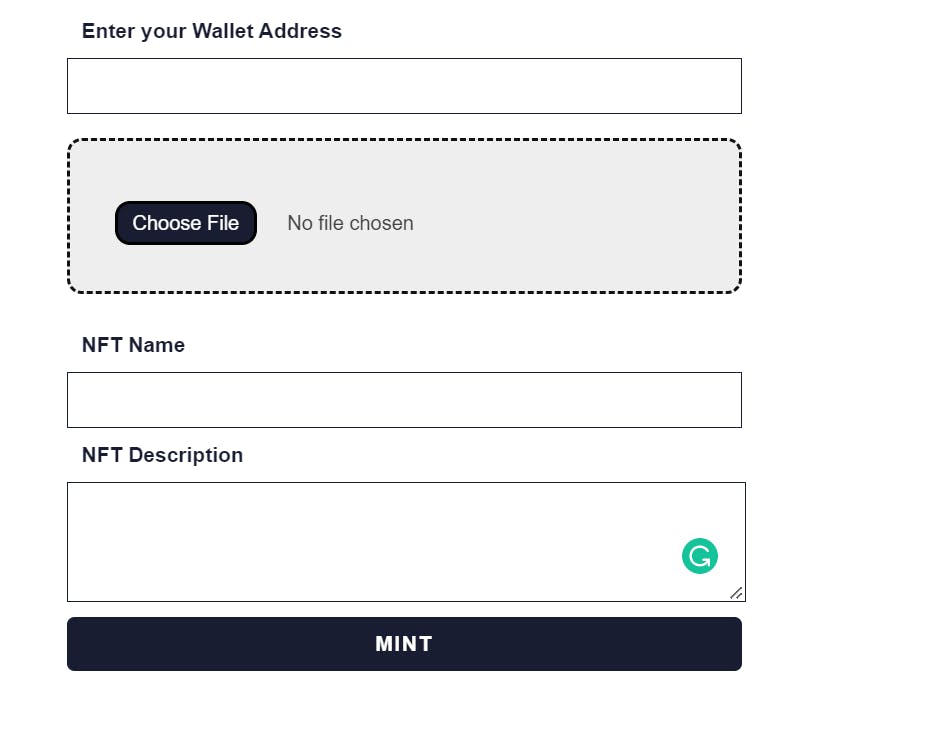
Go back to the terminal and start the react app using
yarn start
You would see a form similar to this -
.env
Create a .env file in the project's root directory to store the NFTPort API Key.
REACT_APP_NFTPort_API_KEY = "PASTE YOUR API KEY"
Mint NFT Function
The next task is to create a function that sends a post request to NFTPort once the user clicks the mint button.
  const mintNFT = async () => {
    const form = new FormData();
    form.append("file", inputRef.current.files[0]);

    const options = {
      method: "POST",
      body: form,
      headers: {
        Authorization: process.env.REACT_APP_NFTPort_API_KEY,
      },
    };

    await fetch(
      "https://api.nftport.xyz/v0/mints/easy/files?" +
        new URLSearchParams({
          chain: "goerli",
          name: title,
          description: description,
          mint_to_address: address,
        }),
      options
    )
      .then((response) => response.json())
      .then((response) => {
        console.log(response);
      })
      .catch((err) => console.error(err));
  };
Now pass this function in onClick of submit button.
 <button type="button" className="button_slide slide_right" onClick={mintNFT}>
  MINT
 </button>
React Toastify
We need to notify users once the NFT is minted successfully. We will use react- toastify package to do the same.
Go back to the terminal and run -
yarn add react-toastify
Import the react-toastify styles and components in App.js
import { toast, ToastContainer } from "react-toastify";
import "react-toastify/dist/ReactToastify.css";
Add the toast component after the catch block in the mintNFT function
 toast.success("NFT Minted Successfully", {
      position: toast.POSITION.TOP_RIGHT,
      autoClose: 3000,
      theme: "dark",
    });
Now add the ToastContainer just after the mint NFT button
  <button type="button" className="button_slide slide_right" onClick={mintNFT} >
          MINT
        </button>
        <ToastContainer />
      </form>
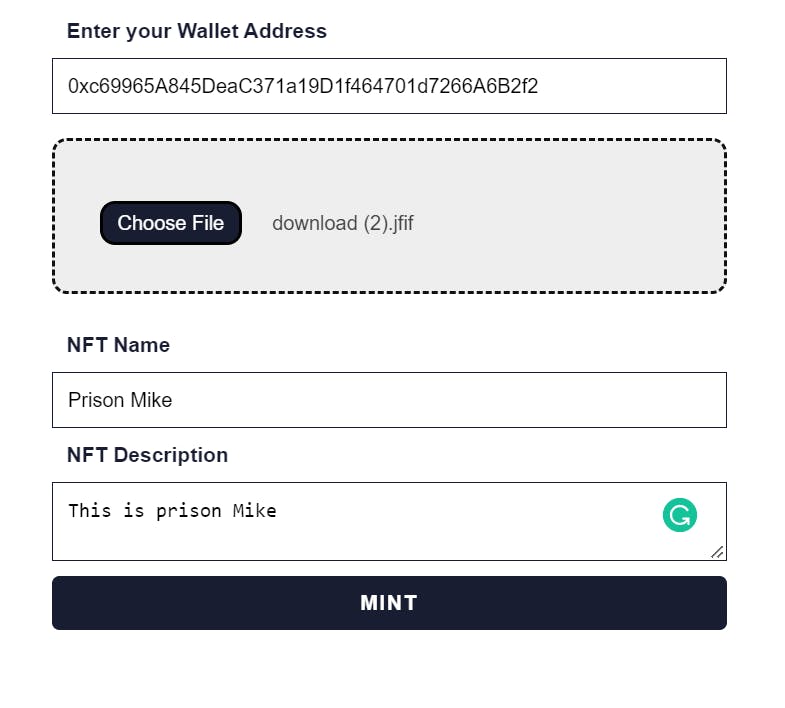
Testing the DApp
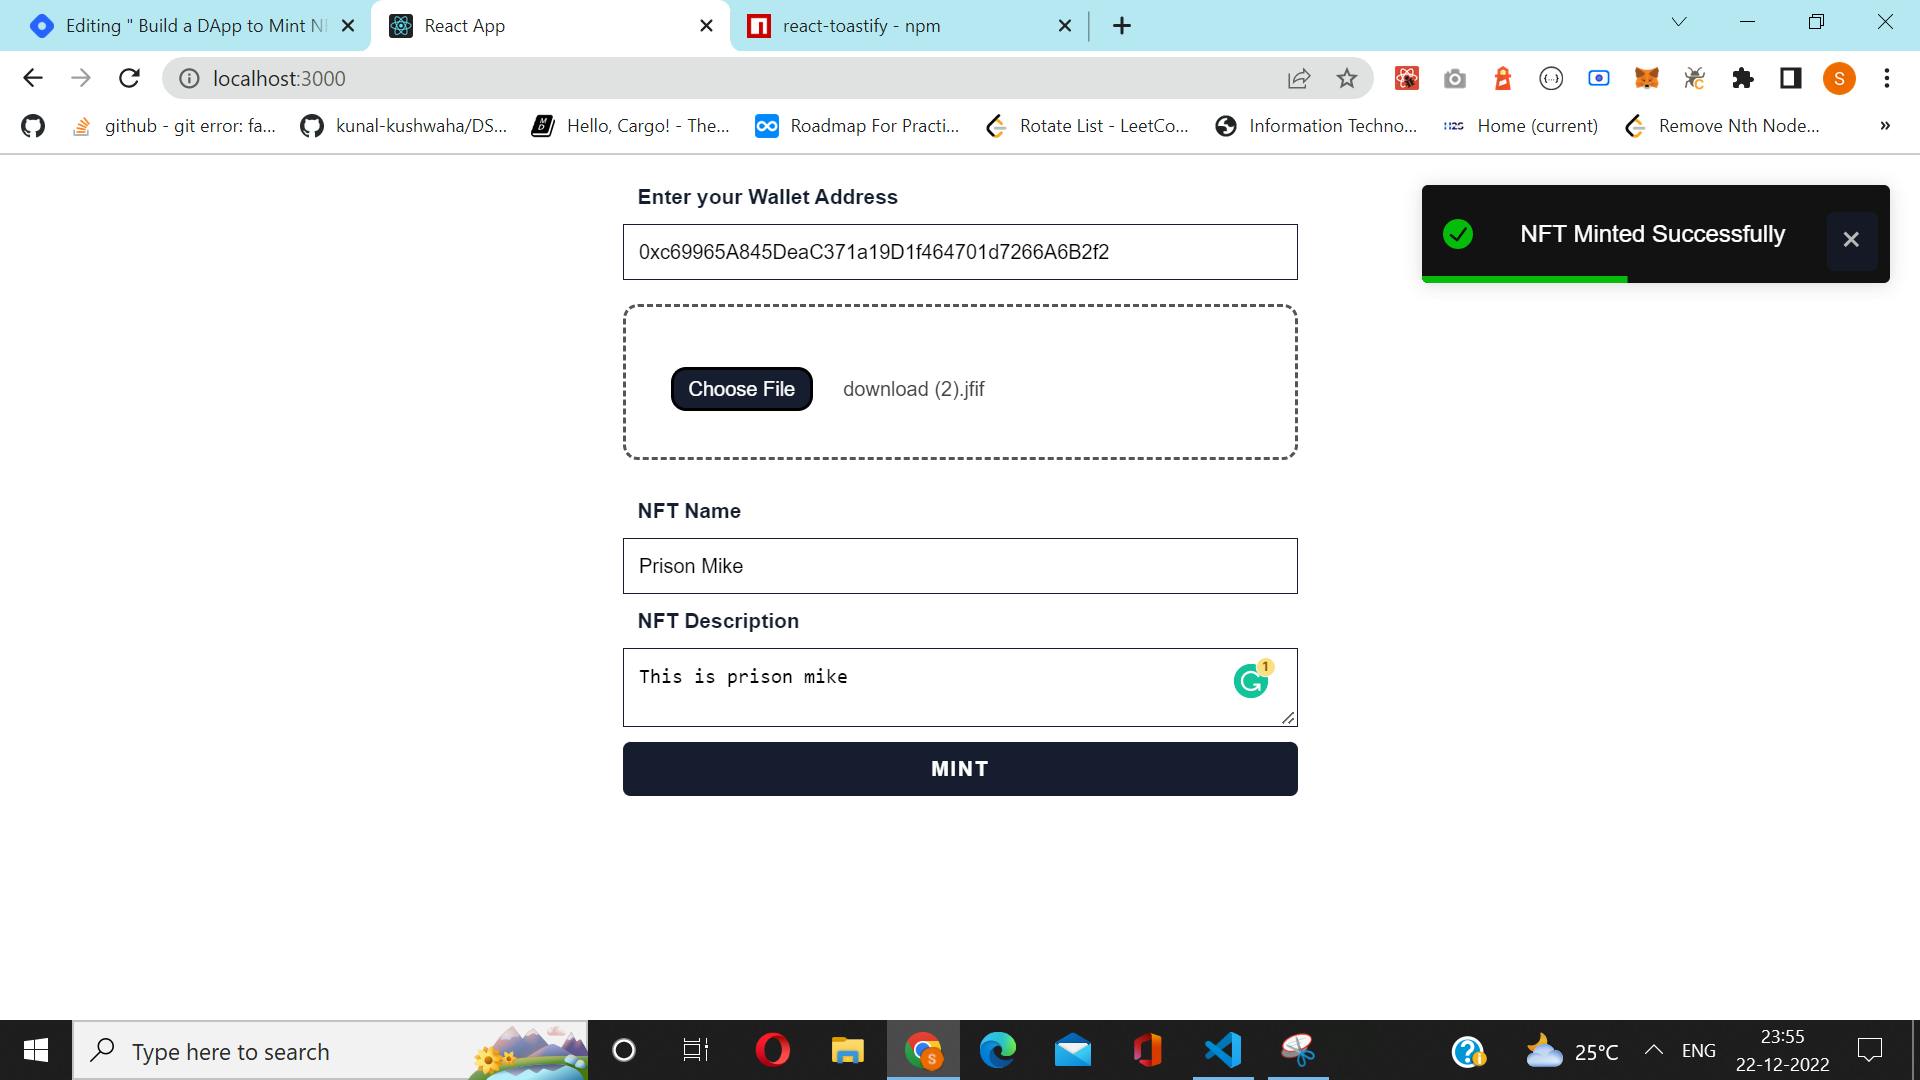
Fill out the form with the relevant details. Ensure that the entered Metamask id is correct.
Click on the Mint button. Once the NFT is minted successfully we see that the react toastify package notifies users .
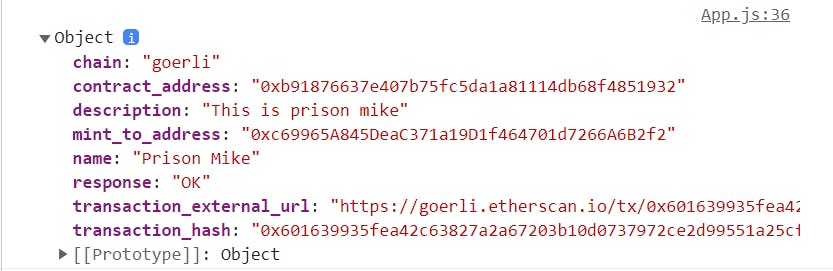
Once the NFT is minted successfully, you can view the whole object returned by NFTPort in the browser console.
Viewing NFT on Opensea
Go to - https://testnets.opensea.io/. Connect your metamask account with which the NFT is minted. After connecting metamask account go to the profile section and click on the created tab to view your minted NFT.
Conclusion
We have successfully created a dApp to mint NFT. The entire code can be found here - NFT Minter
Thank you for reading this far. Hope you find this blog useful. Do share your feedback in the comments section. Do hit the like button if you found this blog useful.
Happy Coding 🚀